Set Up IP-based Split Tunneling with Firezone
This guide will describe the steps required to enable split tunneling with WireGuard using Firezone so only traffic to defined IP ranges will be routed through the VPN.
Firezone sets the Allowed IPs field so traffic destined for specific IPs are
encrypted and routed through the gateway.
Step 1: Set AllowedIPs
AllowedIPs can be set globally on the /settings/default page or individually
for each device during creation. Changes will only apply to new WireGuard tunnel
configurations generated by Firezone.
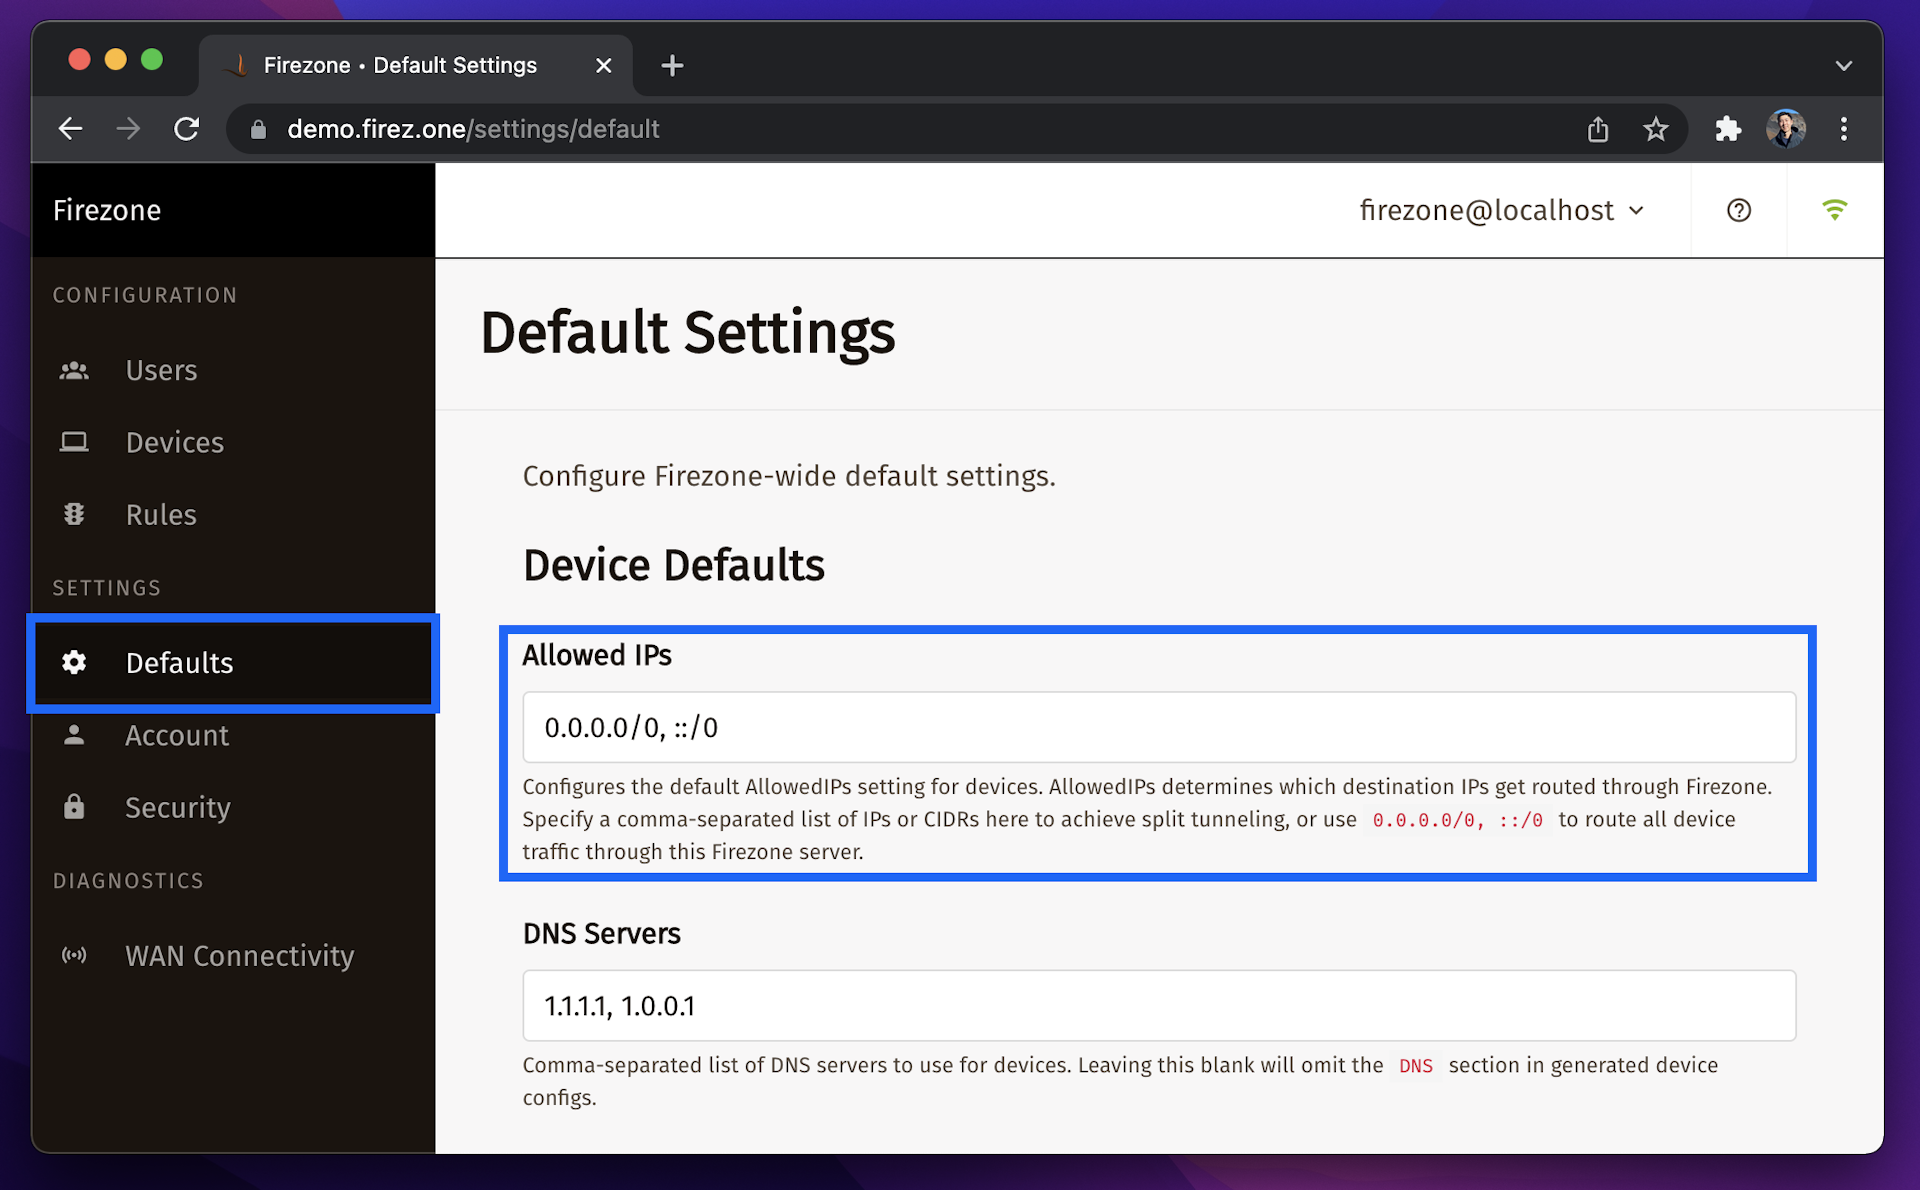
Some examples of values in this field are:
0.0.0.0/0, ::/0- all network traffic will be routed to the VPN server.192.0.2.3/32- only traffic to a single IP address will be routed to the VPN server.3.5.140.0/22- only traffic to IPs in the3.5.140.1 - 3.5.143.254range will be routed to the VPN server. In this example, the CIDR range for theap-northeast-2AWS region was used.
When deciding where to route a packet, Firezone chooses the egress interface corresponding to the most specific route first.
Step 2 (optional): Set the DNS server(s)
You can define the DNS server(s) used by devices when the WireGuard tunnel is
active. By default, it uses Cloudflare's DNS servers (1.1.1.1, 1.0.0.1). Visit
the /settings/default page to override this value.
For split tunneling, this may be desired if you run a DNS server that resolves internal hosts to private IPs reachable via Firezone.
If you wish to resolve DNS queries over the encrypted VPN tunnel
(recommended), ensure the DNS IPs are included in AllowedIPs.
Step 3: Regenerate the device configurations
Changes made to global settings in the Defaults tab are only applied to future device configurations generated by Firezone.
Users need to regenerate device configurations to update existing devices for
the updated configuration changes to AllowedIPs, DNS, PersistentKeepalive,
MTU, and Endpoint.
See add device for instructions.