SSO with JumpCloud
Firezone integrates with JumpCloud using a custom connector that supports both authentication and directory sync. Use this guide if you're looking to setup SSO with JumpCloud for your Firezone account and optionally sync users and groups from JumpCloud to Firezone.
Directory sync is supported for the Enterprise plan only.
Overview
The JumpCloud connector uses OpenID Connect for authentication and JumpCloud's SCIM API to optionally support directory sync on Enterprise plans.
When directory sync is enabled, users and groups are synced every few minutes to ensure that your Firezone account remains up-to-date with the latest identity data from JumpCloud. Read more about how sync works.
Setup
Setting up the JumpCloud connector is similar to the process of setting up a
universal OIDC connector. The main difference is omission of the
Discovery Document URI configuration field, as this is the same for all
JumpCloud tenants.
Follow the steps below to setup the JumpCloud connector.
Step 1: Start the JumpCloud provider setup in Firezone
In your admin portal, go to Settings -> Identity Providers and click
Add Identity Provider. Then, select JumpCloud from the list of identity
providers.
You'll be shown a summary of the steps you need to complete to setup the JumpCloud provider. Keep this page open as you'll need to refer to it in the following steps.
Step 2: Create a new SSO application in JumpCloud
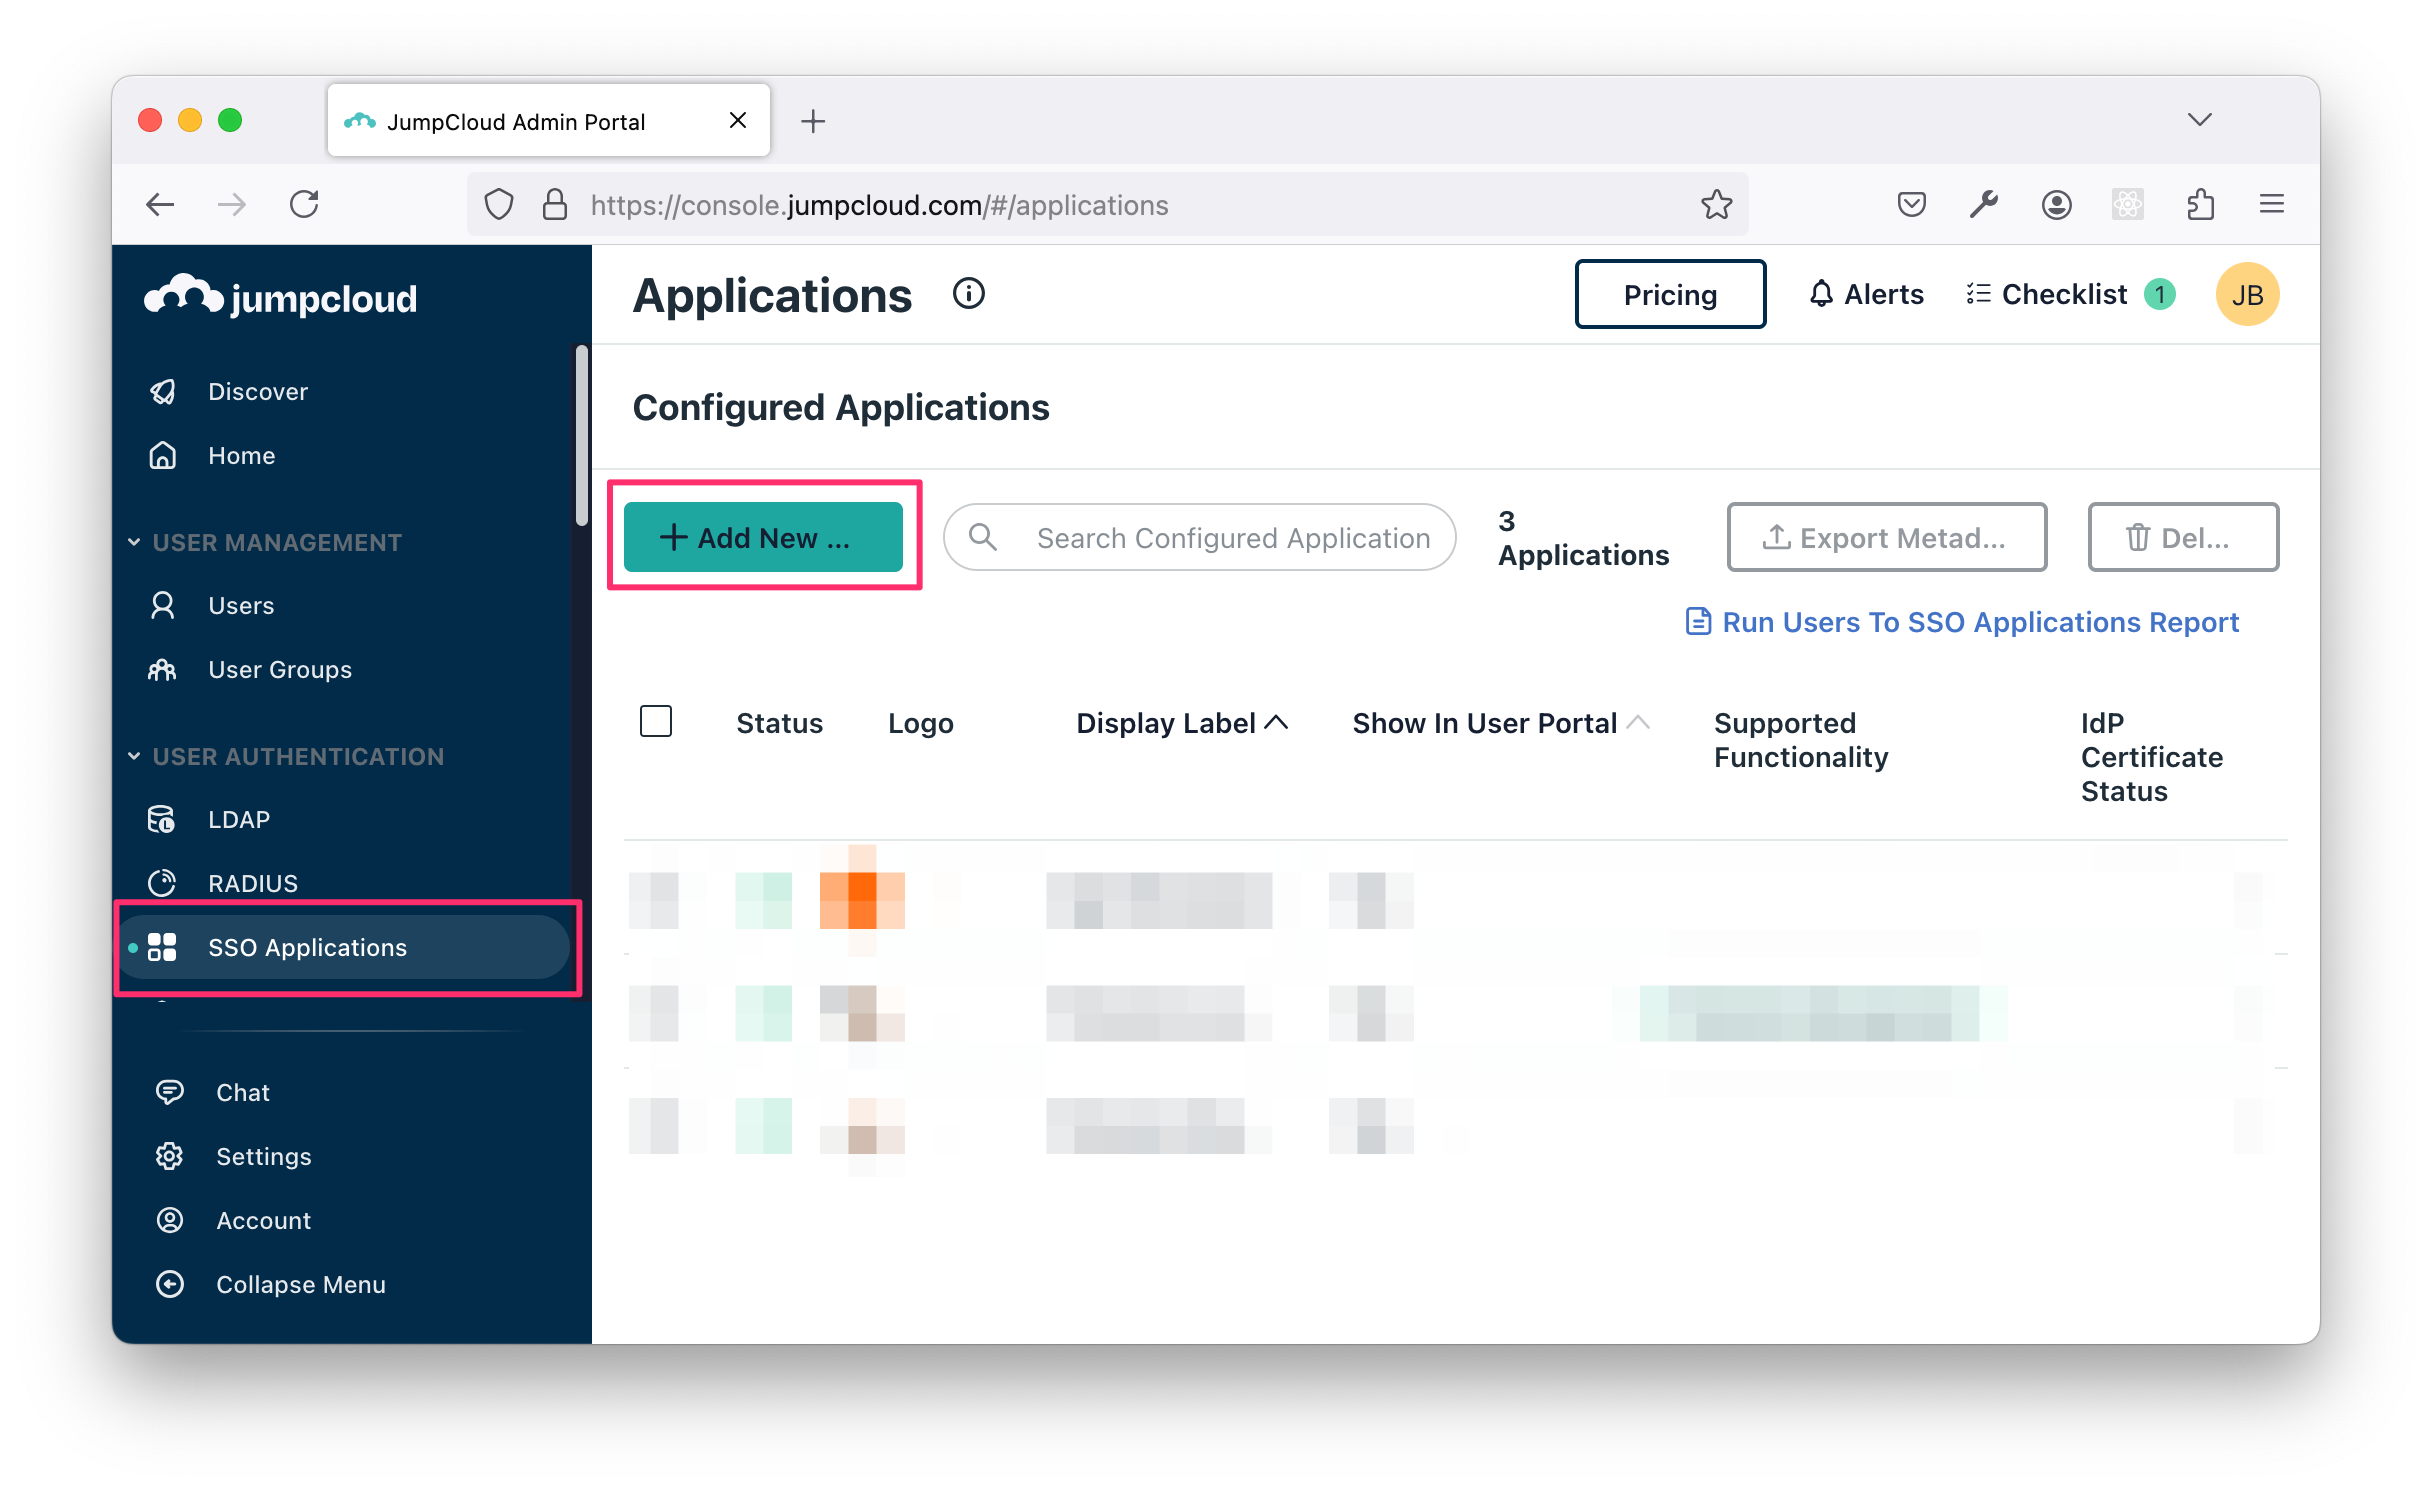
Login to your JumpCloud admin portal, click SSO Applications and then + Add New Application.
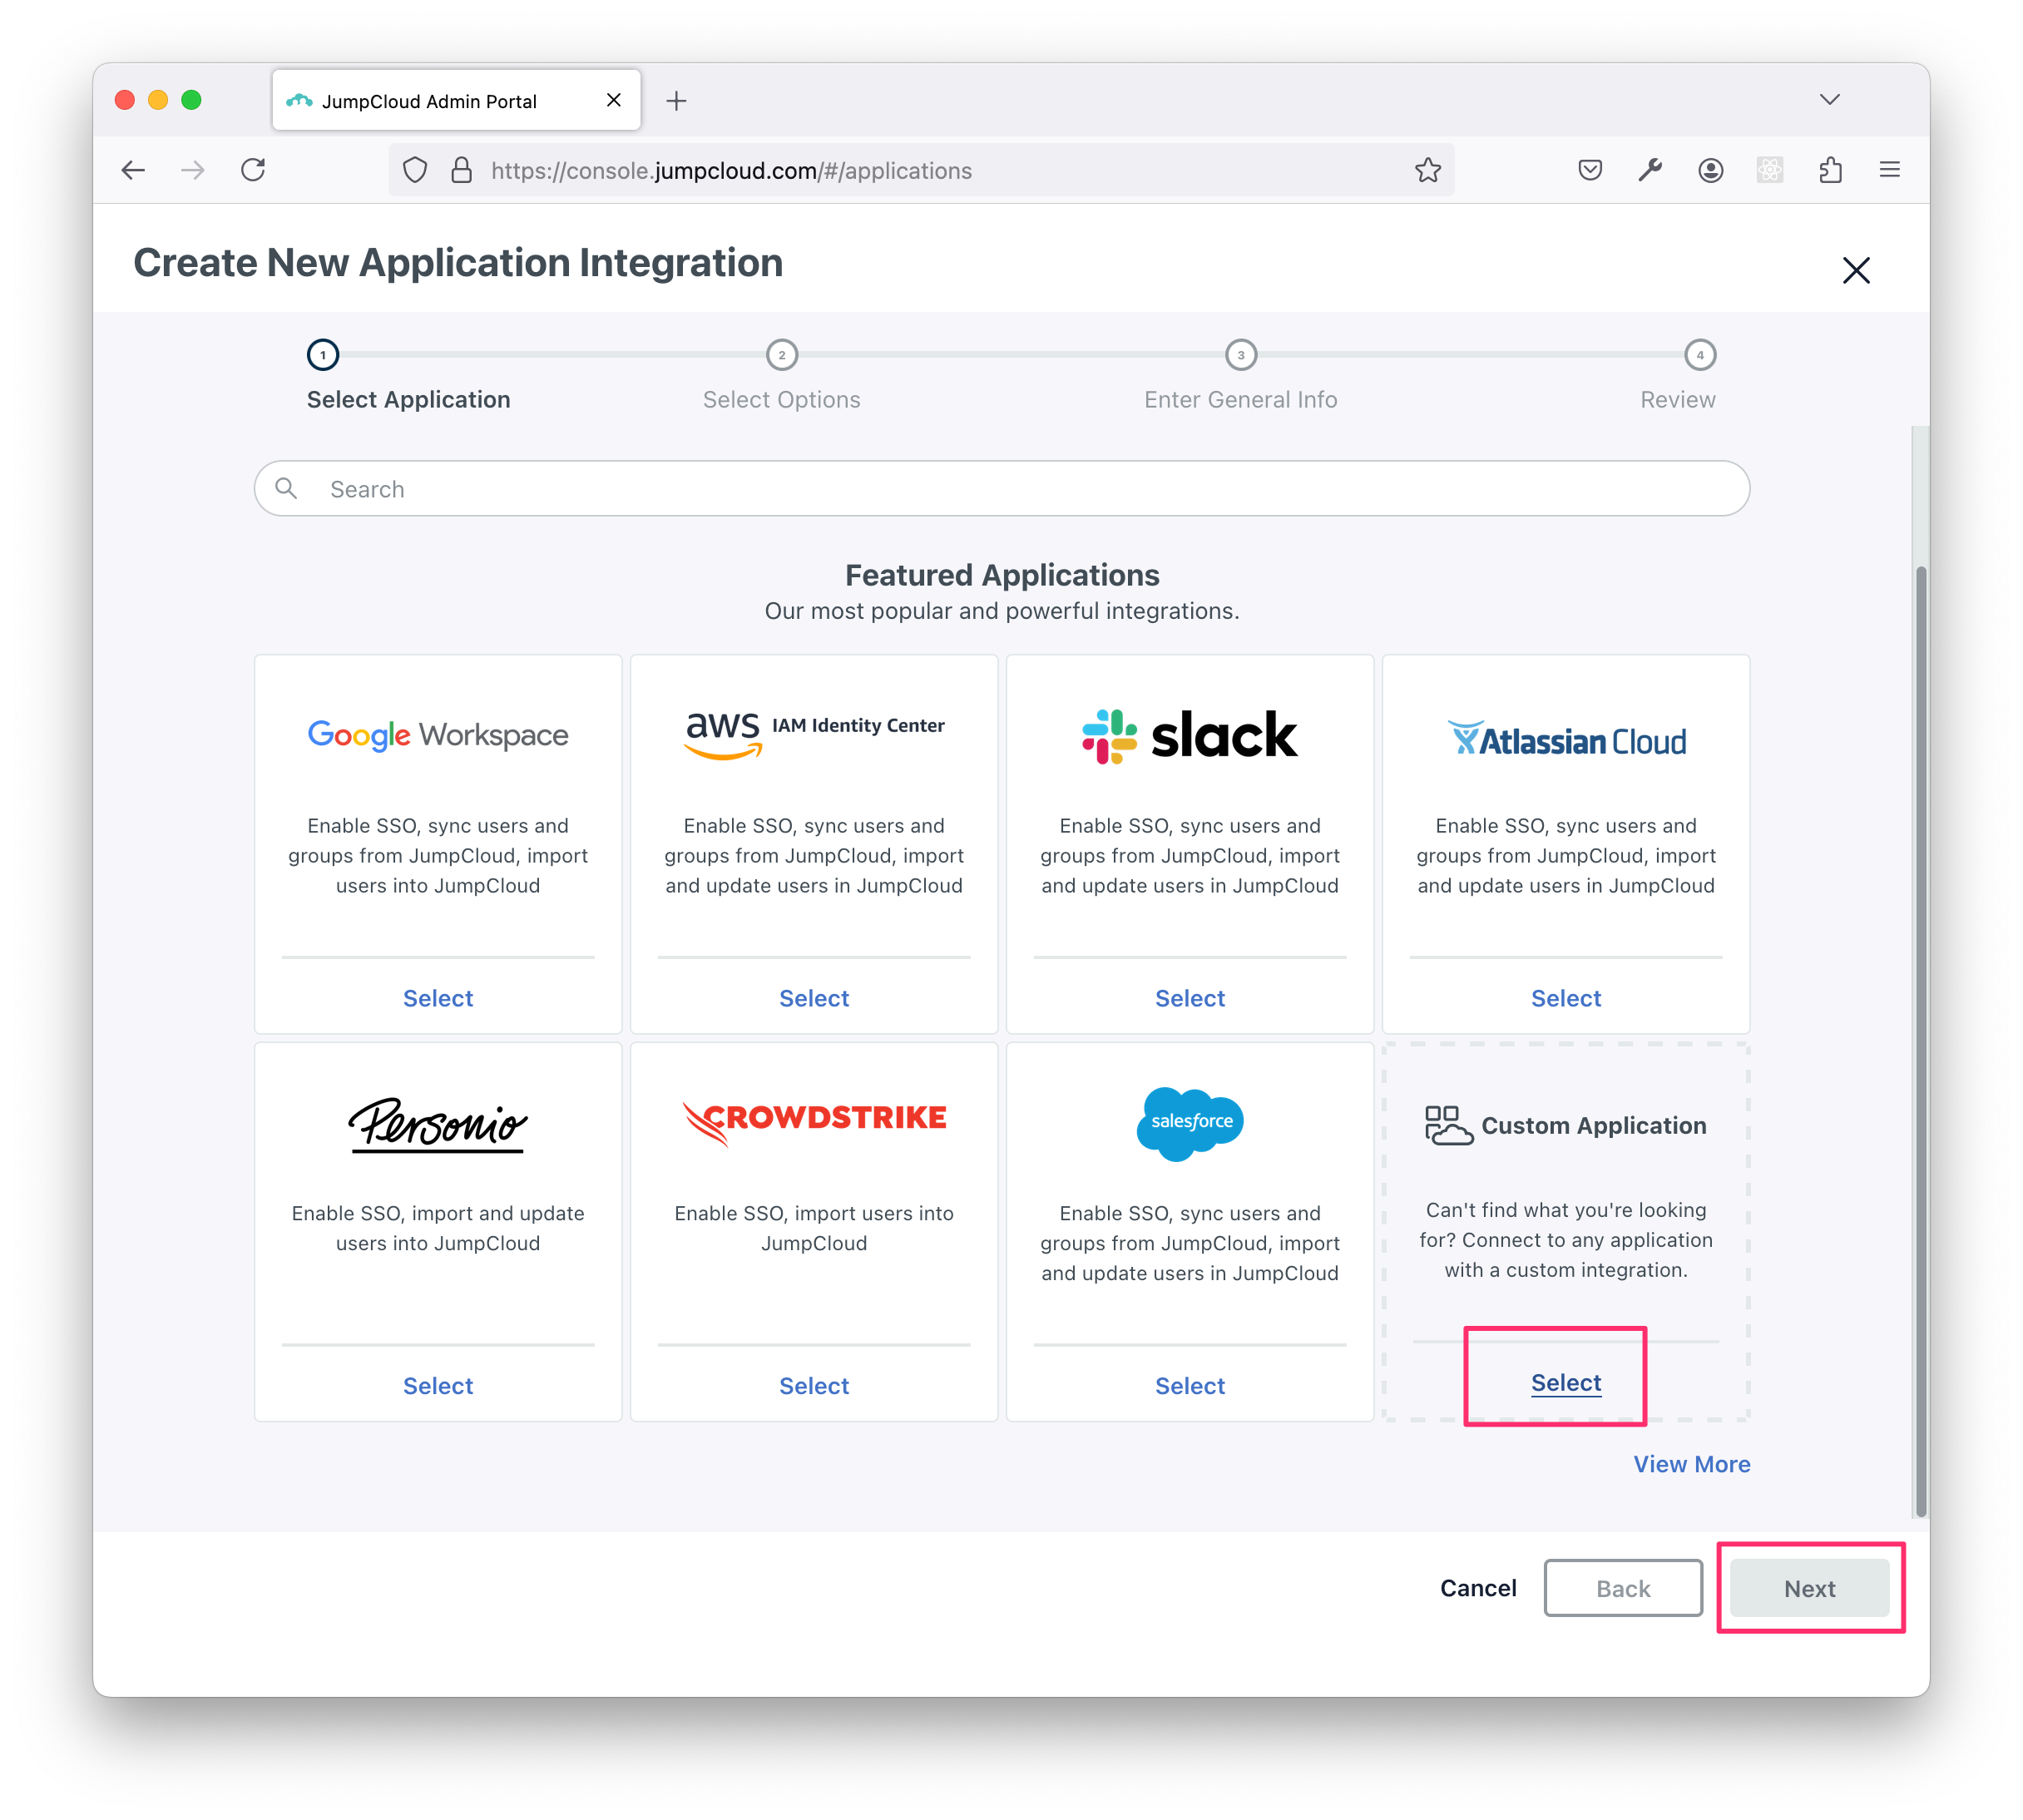
Select Custom Application and click Next.
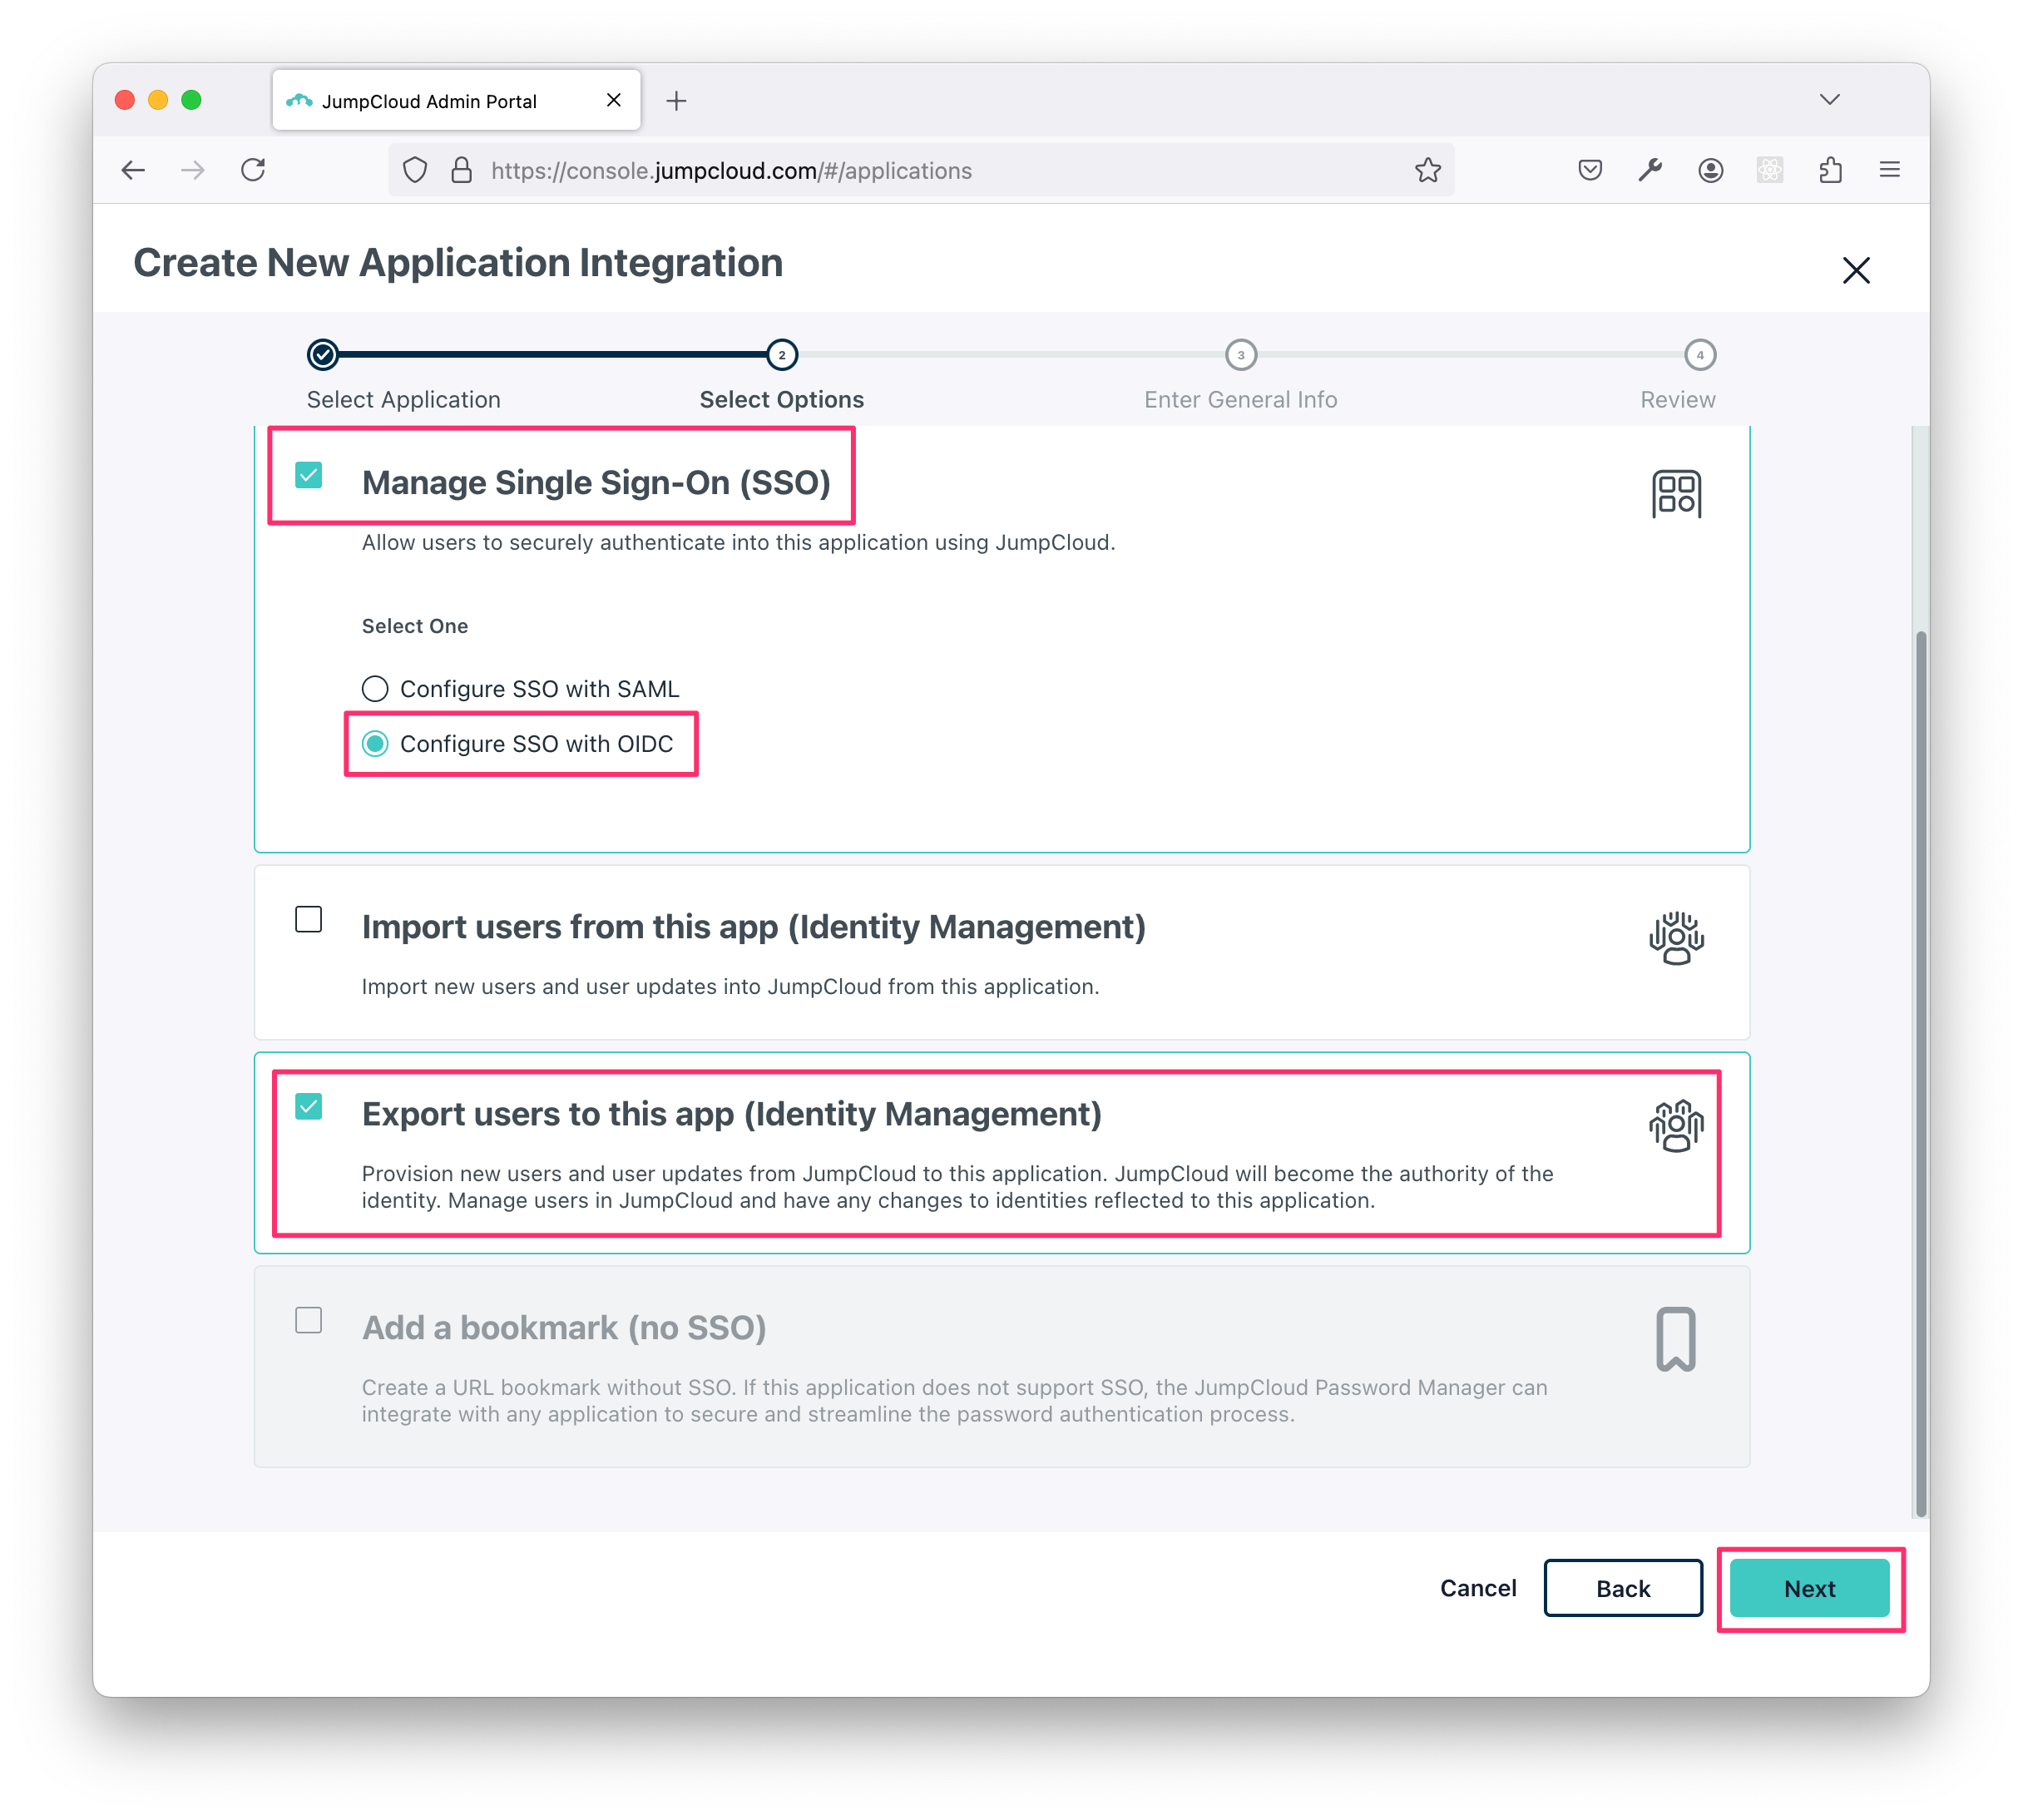
On the next screen, ensure Manage Single Sign-On is selected, and select the Configure SSO with OIDC option.
Optionally, select Export users to this app (Identity Management) if you plan to set up directory sync for this connector.
Click Next.
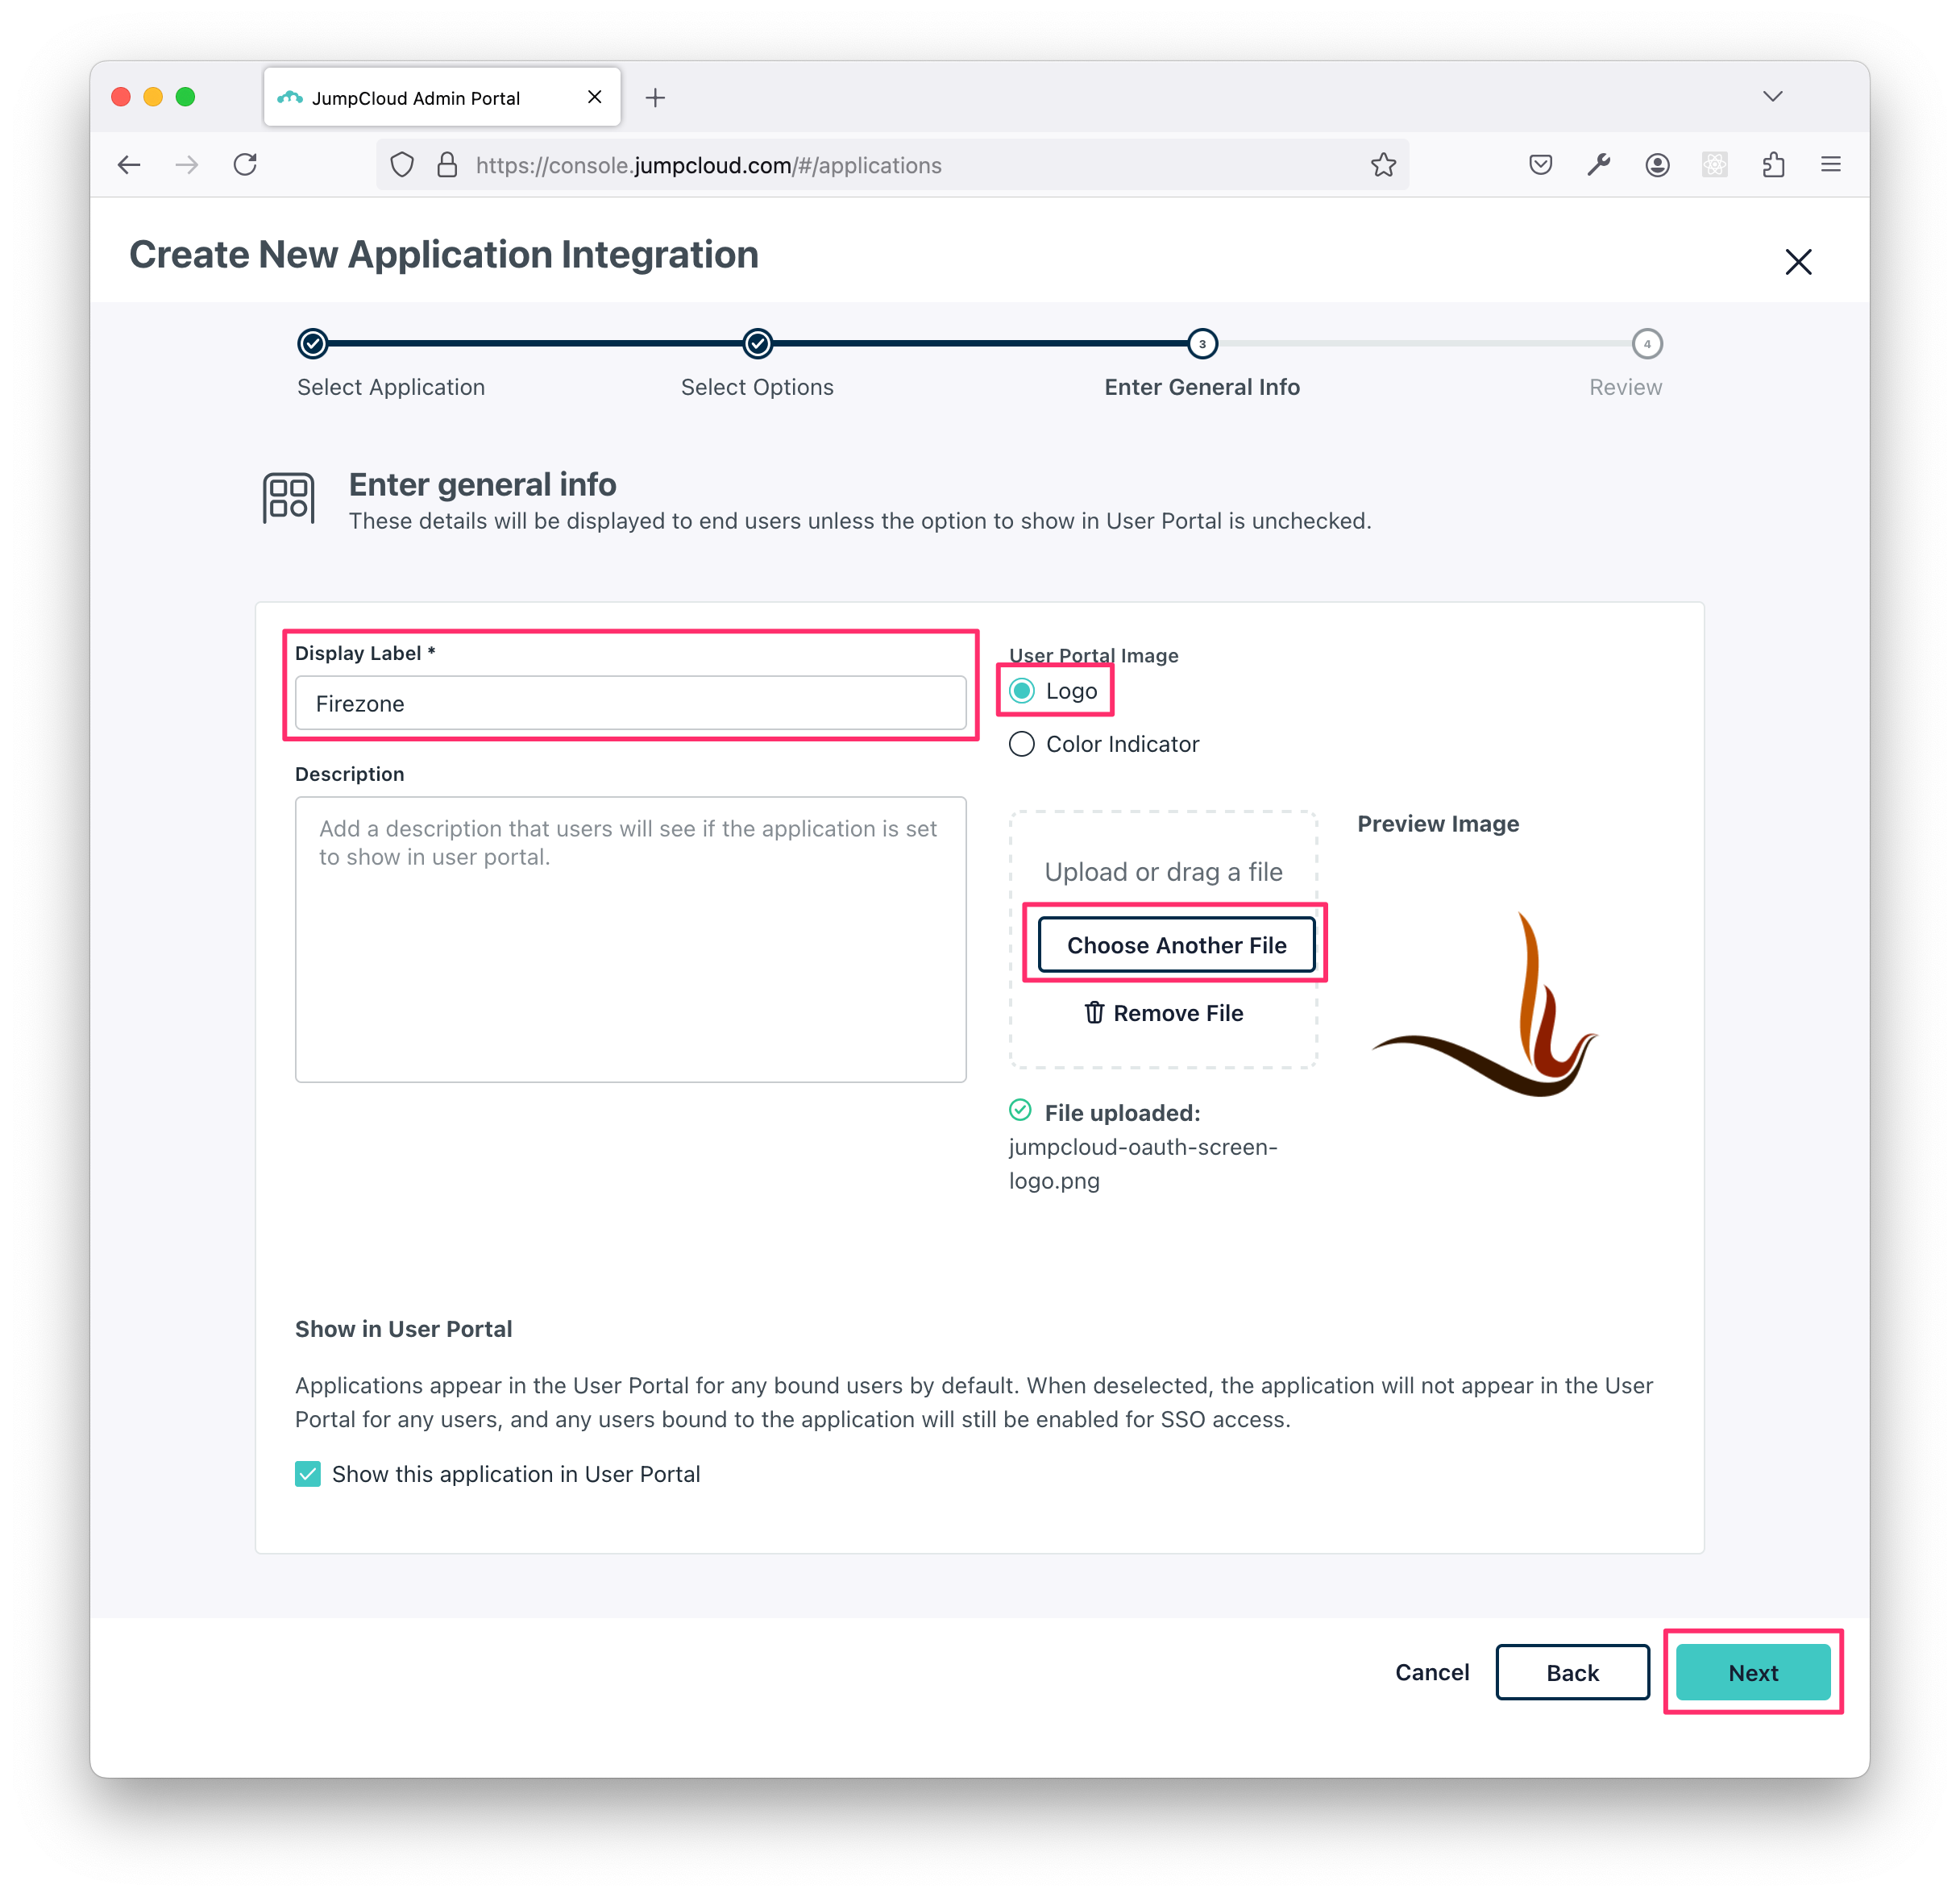
On the next screen, enter Firezone for the Display Label.
Choose Logo for the User Portal Image and use this link to download an appropriate logo to use for the app registration:
Then click Next.
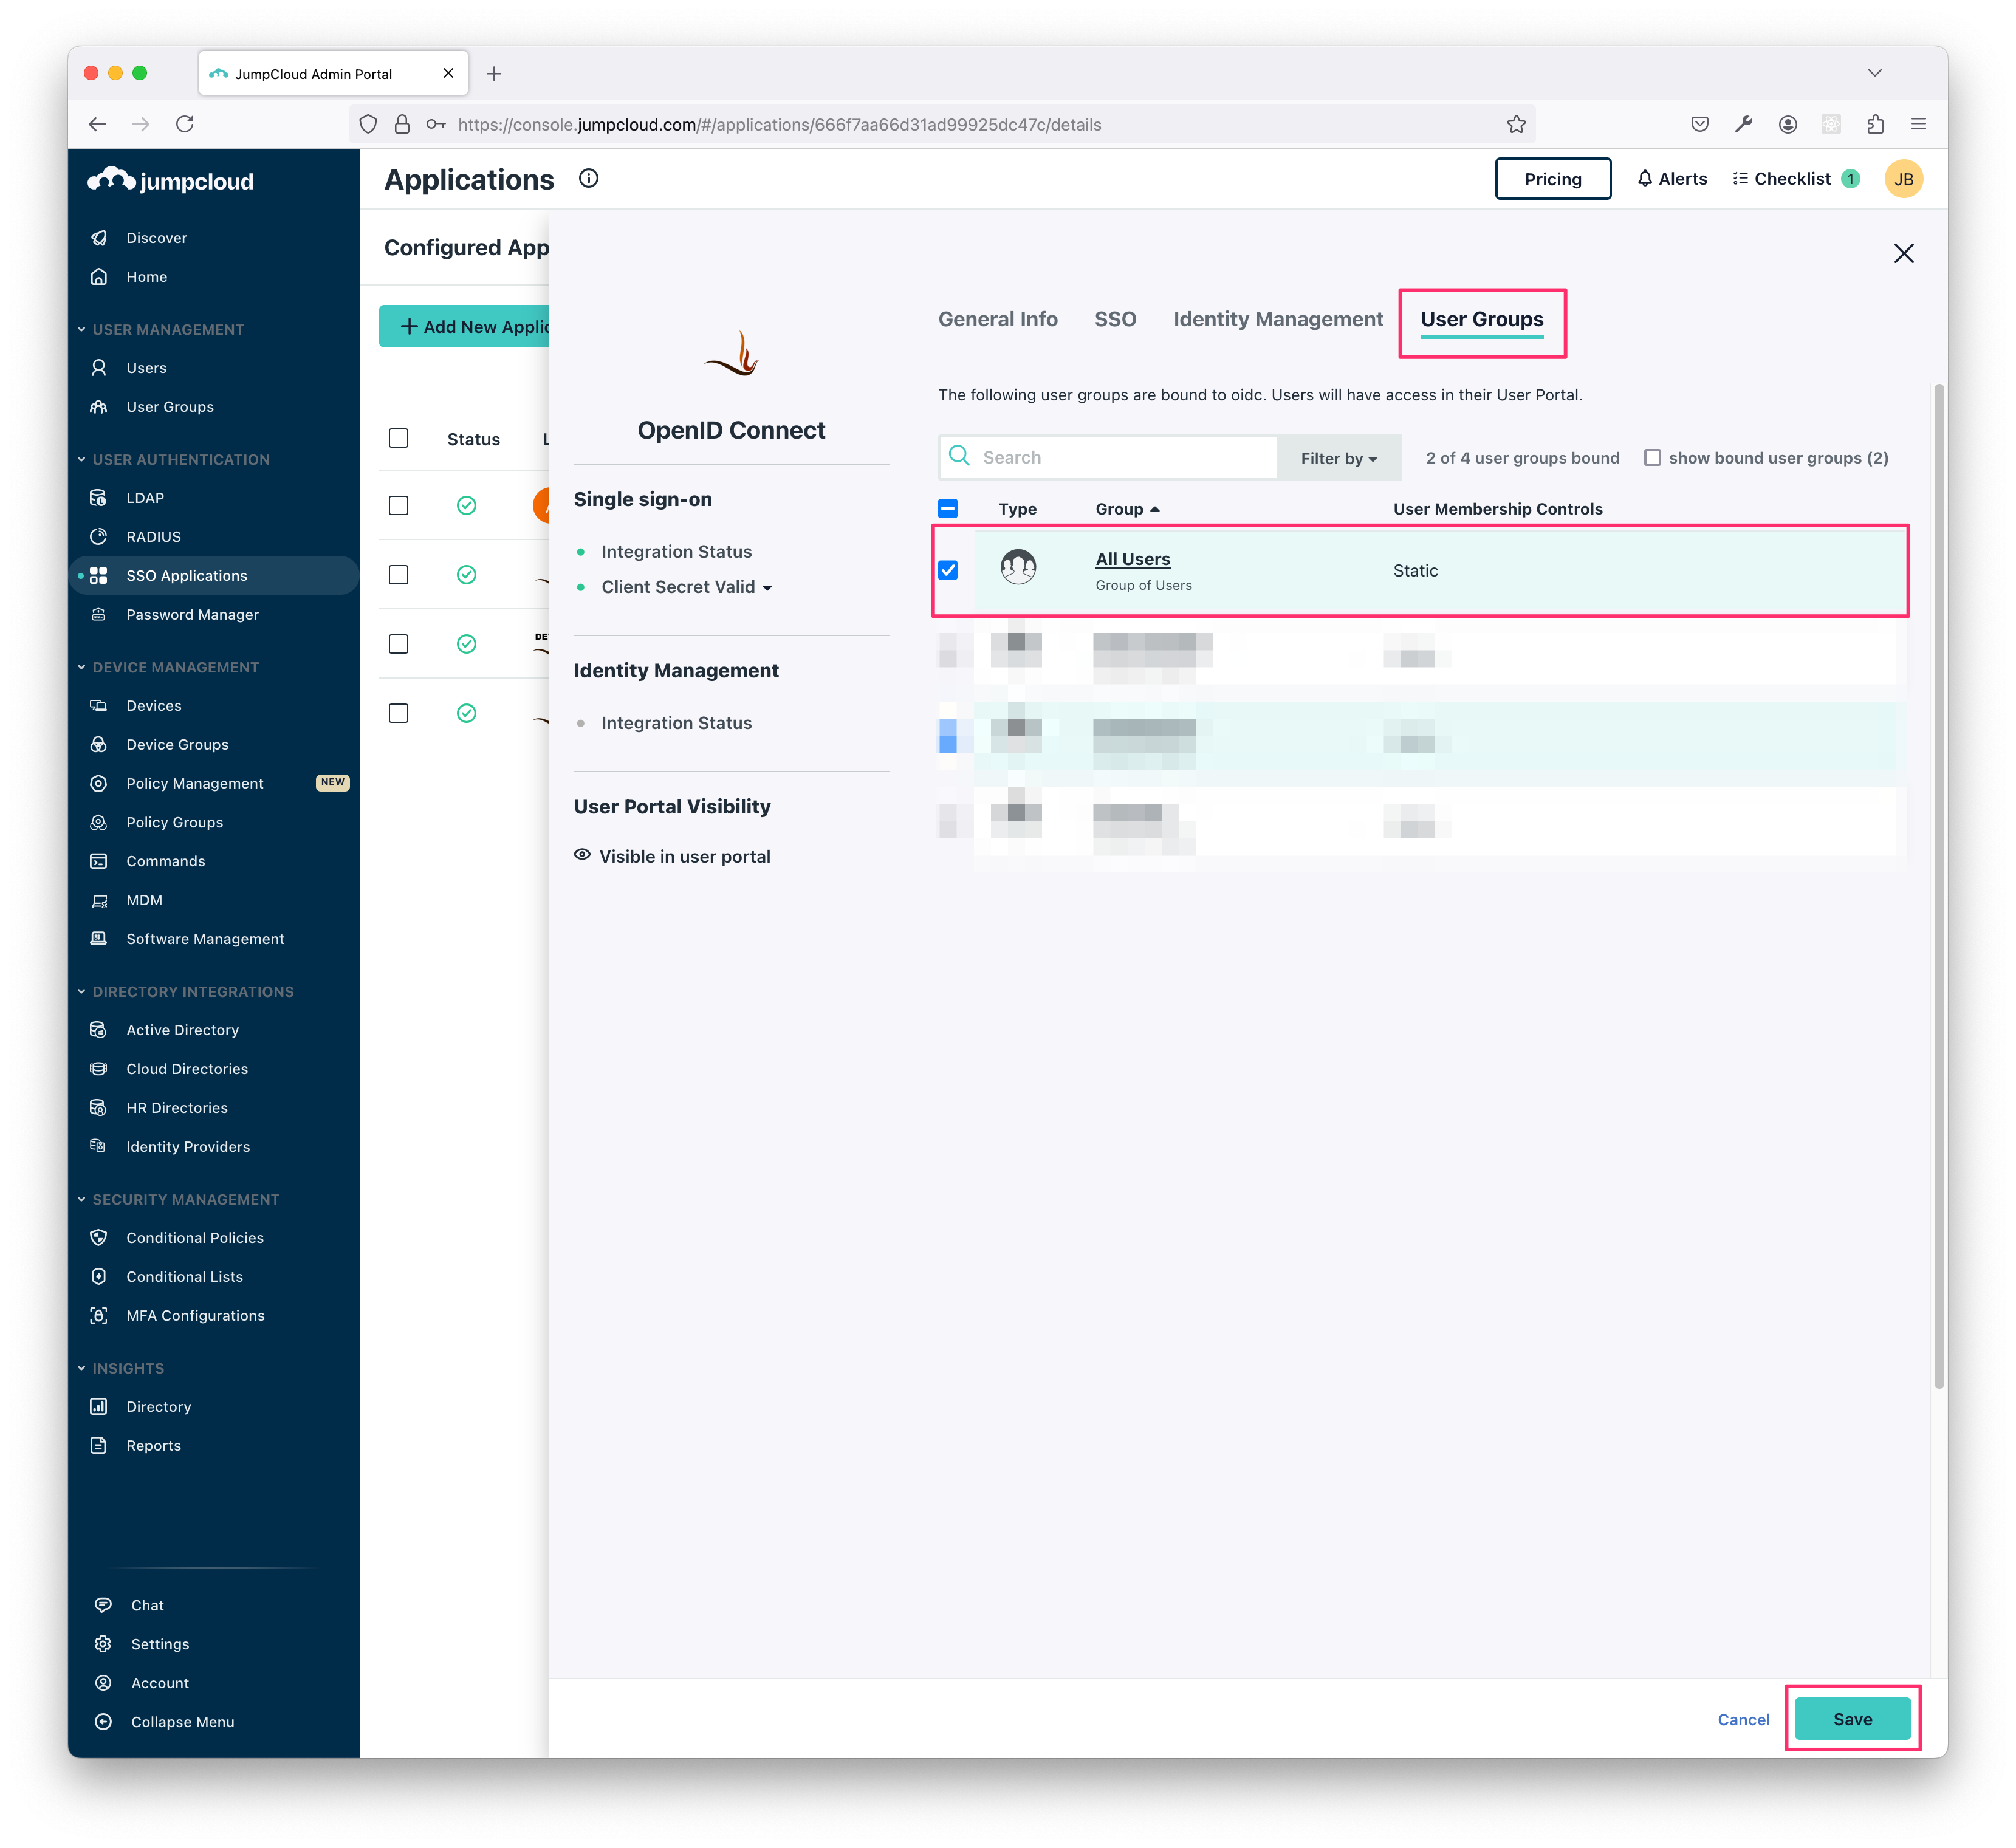
On the following screen, select the User Groups tab and choose which users you'd like to grant access to Firezone.
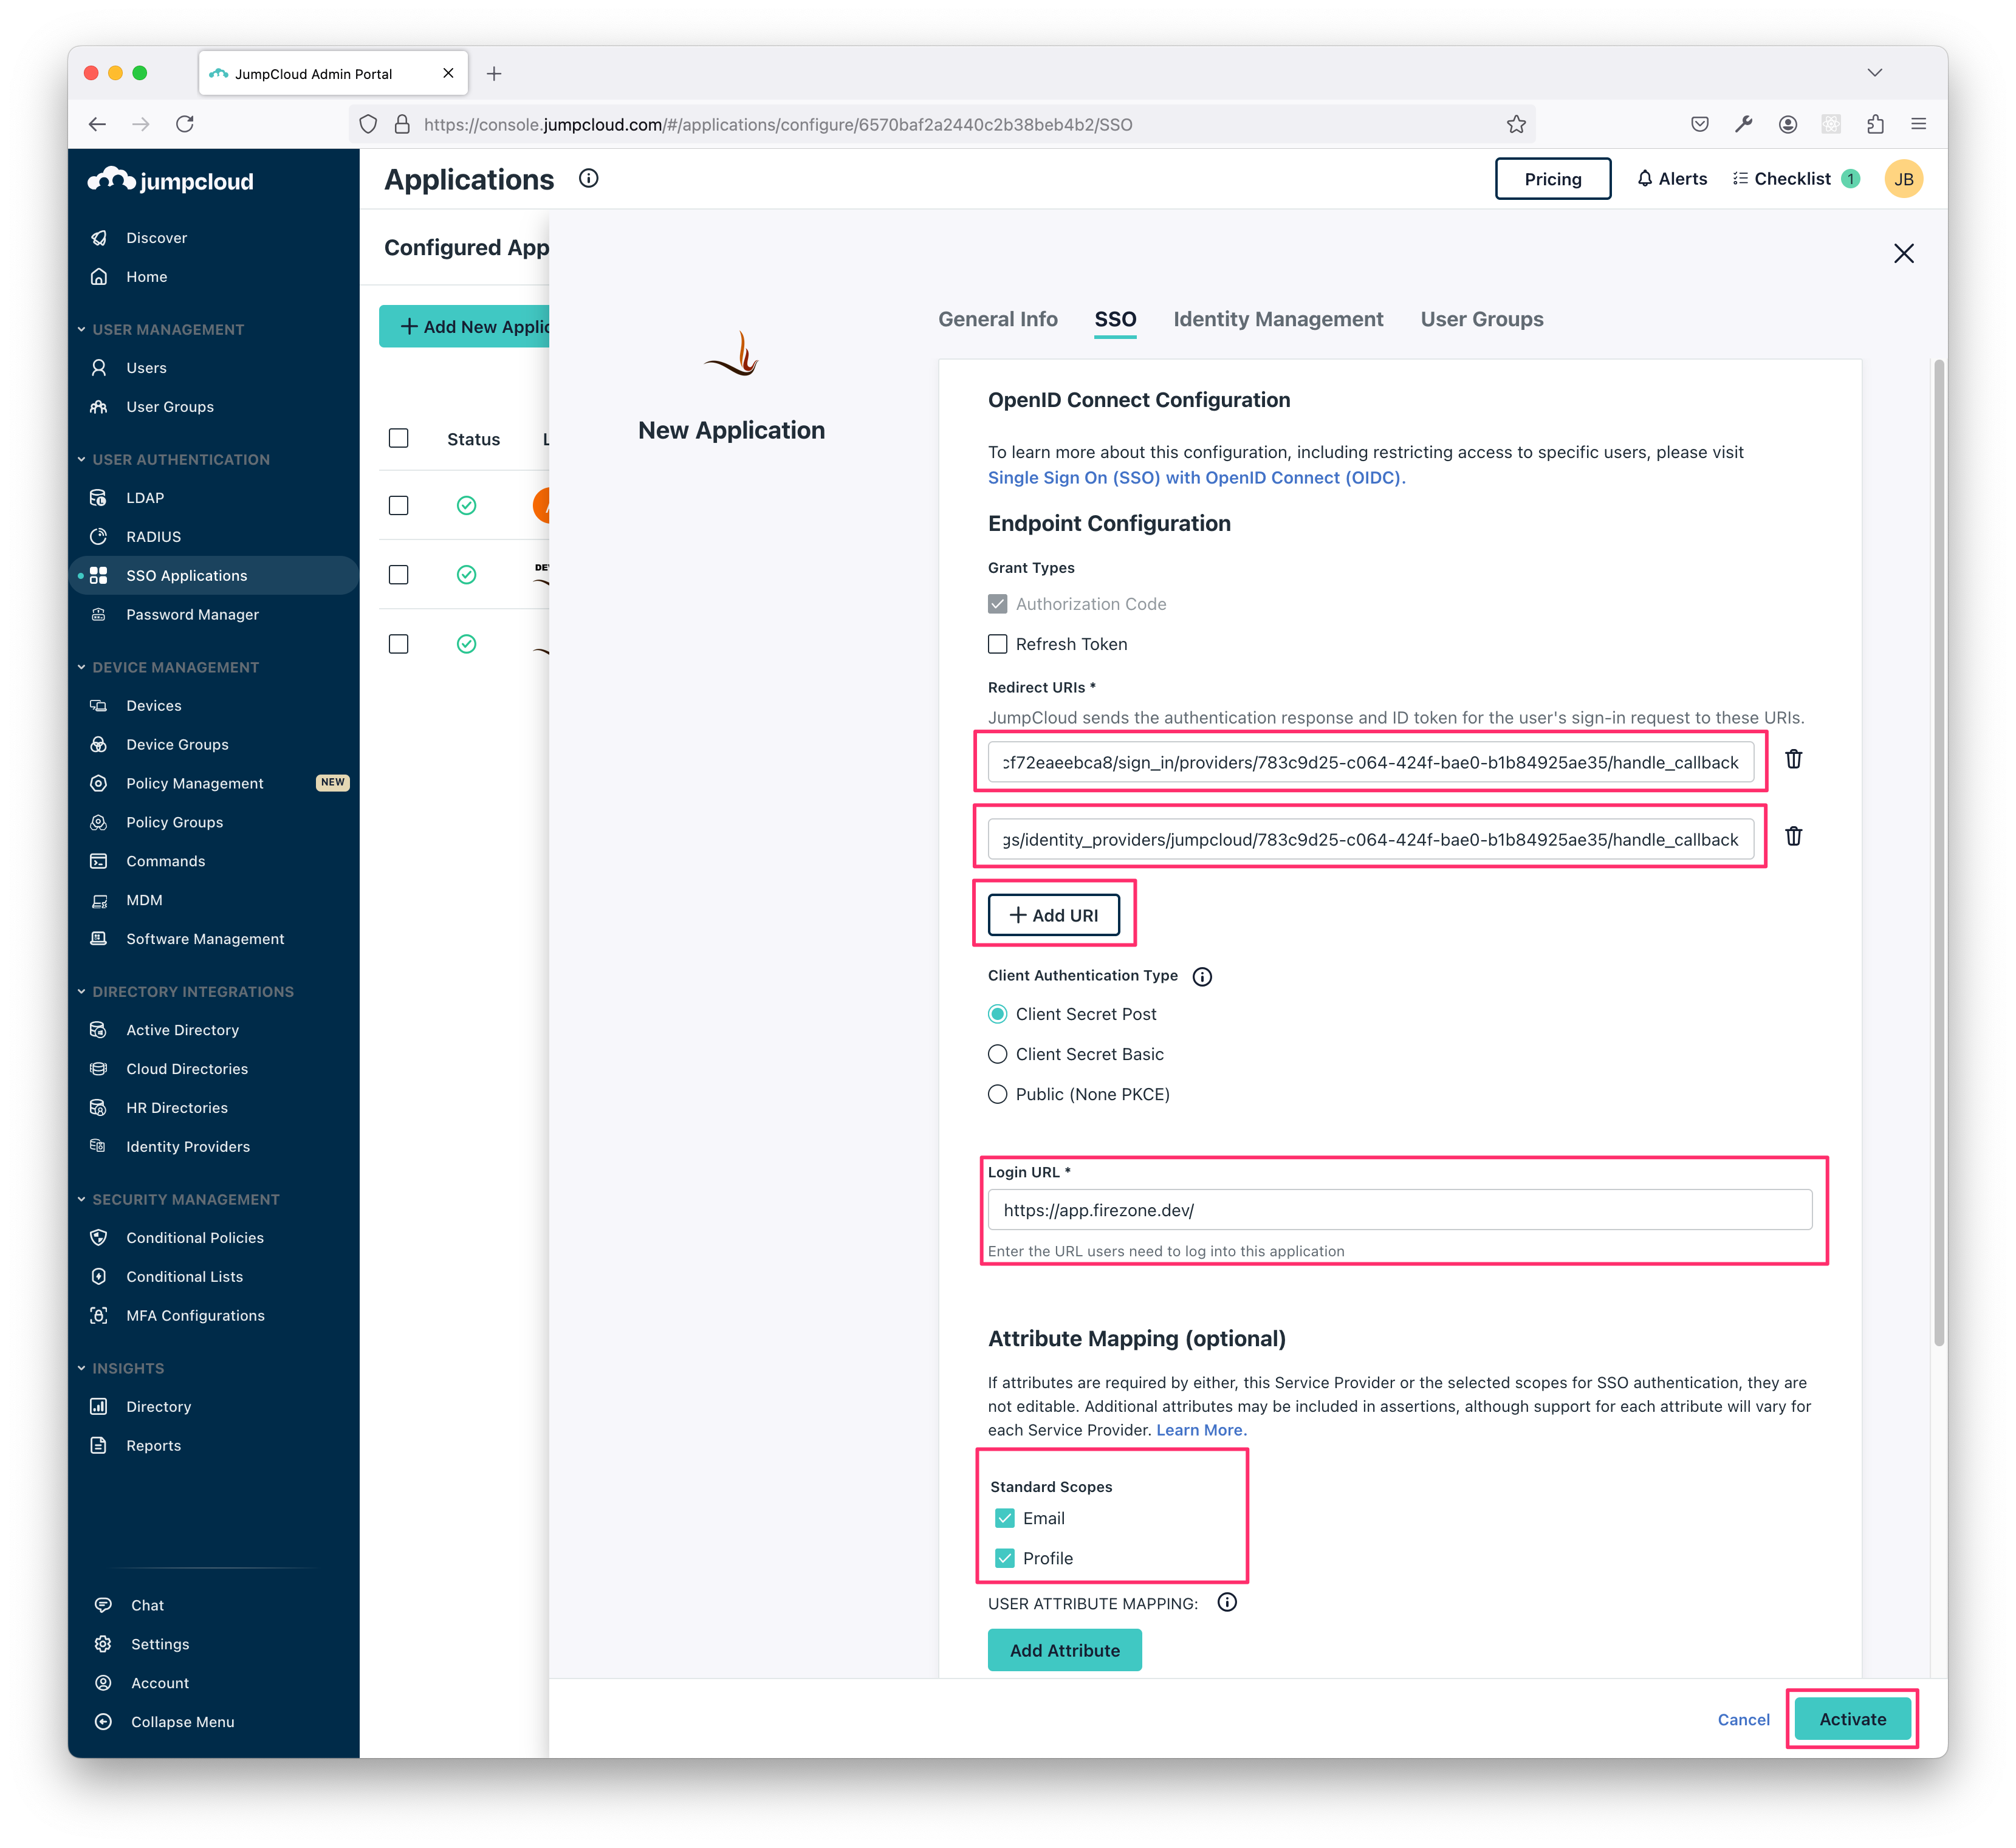
Next, go back to the SSO tab and copy the two Redirect URIs shown in the setup page from the Firezone admin portal and paste them here.
Use https://app.firezone.dev/ for the Login URL.
Then, under Attribute Mapping, make sure Email and Profile are both checked under Standard Scopes. Leave the mappings as they are.
Then, click Activate.
You should now see a screen that says Application Saved with the Client ID and Client Secret.

Important: Make sure to save the Client ID and Client Secret fields in a
safe place as they won't be shown again.
Step 3: Finish setting up the JumpCloud provider in Firezone
Go back to the setup page in the Firezone admin portal and enter the Client ID
and Client Secret values you copied from the JumpCloud application in the
previous step.
Then, click Connect Identity Provider.
If you get successfully redirected back to your Firezone admin portal, you're done! Your JumpCloud connector is now ready to authenticate users.
If you'd like to enable directory sync, keep reading below.
Step 4: Enable directory sync (optional)
To enable directory sync, go to the JumpCloud provider you just created in the Firezone admin portal. Click the Setup Sync button in the Sync Status section of the Details pane.
You'll be taken through a detailed step-by-step guide to set up SCIM 2.0 with JumpCloud. Make sure to follow the instructions carefully to ensure that the sync is set up correctly.
Note: Firezone uses WorkOS behind the scenes to
connect to JumpCloud's SCIM API. When setting up the SCIM integration, you'll
be taken through WorkOS's setup flow hosted from the setup.workos.com
domain. This is completely normal. You do not need to create a WorkOS
account for this to function.
Once directory sync is enabled, users and groups will be synced every few minutes to ensure that your Firezone account remains up-to-date with the latest identity data from JumpCloud.
Synced users will be assigned the User role by default, allowing them access
to sign in from the Firezone Client only. If you need to grant access to the
admin portal, you need to manually promote the user to the Admin role by
visiting Actors -> <actor name> -> Edit User and updating their role.
Need additional help?
See all support options or try asking on one of our community-powered support channels:
- Discussion forums: Ask questions, report bugs, and suggest features.
- Discord server: Join discussions, meet other users, and chat with the Firezone team
- Email us: We read every message.