Create Resources
Resources define subnets, IP addresses, or DNS names you wish to manage access for.
To create a Resource, go to Sites -> <site name> -> Add a Resource.
Remember, Resources must be reachable by all Gateways in the same Site.
From there, you can select the type of Resource you want to create:
- DNS: A domain name pattern to match.
- By default, the pattern will only match the exact name you enter.
- To match all subdomains recursively, use a double-wildcard, such as
**.example.com. This will matchexample.com,sub.example.com, andsub.sub.example.com. - To match all subdomains non-recursively, use a single wildcard, such as
*.example.com. This will matchsub.example.combut notsub.sub.example.com. - To match a single character, use a question mark, such as
us-east?.example.com. This will matchus-east1.example.combut notus-eastXY.example.com. - Wildcards can be placed between domain components, e.g.,
foo.*.example.comwill matchfoo.bar.example.comorfoo.**.example.comwill matchfoo.bar.baz.example.com.
- IP: A single IPv4 or IPv6 address
- CIDR: A range of IPv4 or IPv6 addresses in CIDR notation, such as
10.1.2.0/24or2001:db8::/48
Note: Once a Resource is created, its address cannot be changed. Double-check to ensure the address entered is correct before creating the Resource.
Routing order for overlapping addresses
When multiple Resources' addresses overlap, the Resource with the more specific address will be used.
For CIDR Resources, an address with a longer prefix is more specific than a
shorter one. For example: 10.0.0.0/16 is more specific than 10.0.0.0/8. IP
Resources are essentially addresses with /32 prefix and thus always more
specific than any other CIDR.
For DNS Resources, more specific loosely translates to less wildcards. In particular:
- Resources without wildcards are always prioritized over wildcard domains: For
example,
app.example.comis checked before*.example.com. - Single-char wildcards (
?) take priority over label wildcards (*): For example,???.example.comis checked before*.example.com. - Label wildcards (
*) take priority over catch-all wildcards (**): For example,*.example.comis checked before**.example.com.
Address description
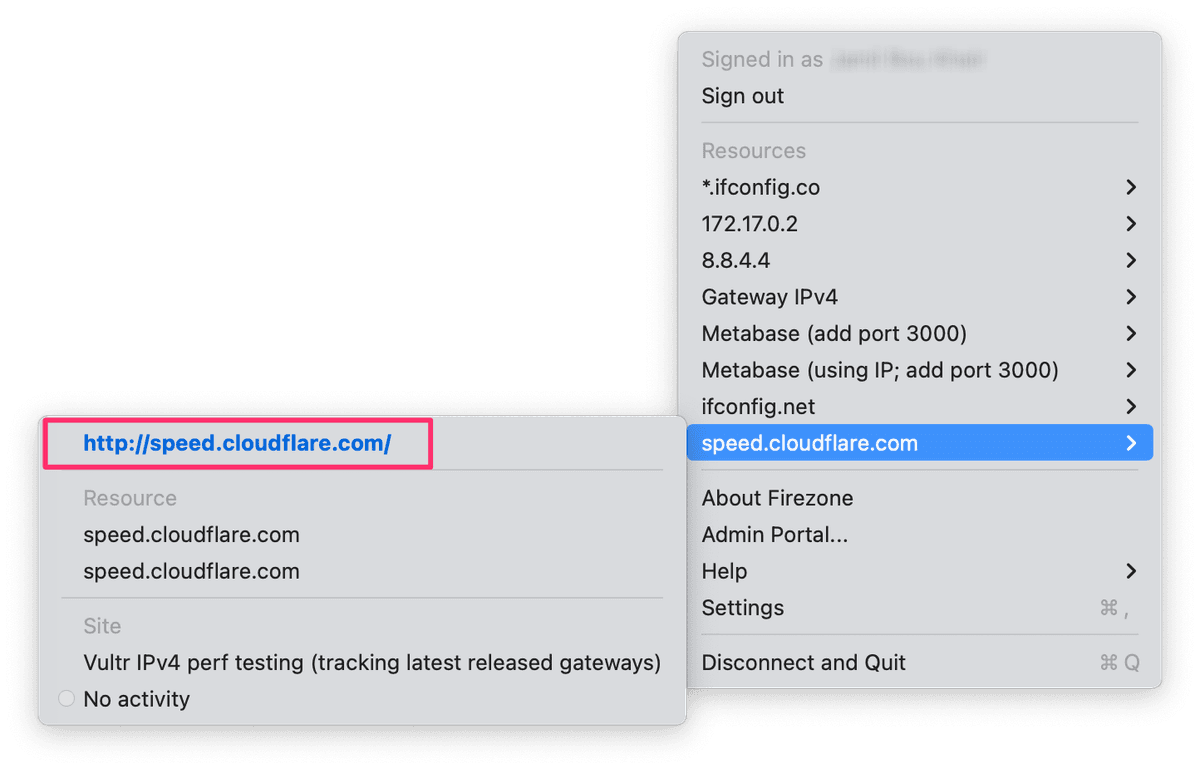
When creating a Resource, you'll be given the option to add an
address_description. If given, this will be displayed in the Client's Resource
list to help identify the Resource. If a URL is entered, it will be displayed as
a clickable link.

This is commonly used to show a different address to end users than the one used
for routing, where field validations are more restrictive. This can be useful to
provide a bookmark to a service like https://gitlab.company.com, or give hints
for accessing the service, like 10.0.0.1:2222.
IP stack
Introduced in macOS 1.5.2, iOS 1.5.2, Android 1.5.0, Windows 1.5.0, and Linux 1.5.0.
The IP stack setting for DNS Resources controls the types of DNS records
(A for IPv4, AAAA for IPv6) generated by the
stub resolver.
- Dual-stack (Default): Generates both
AandAAAArecords. - IPv4 only: Generates only
Arecords. - IPv6 only: Generates only
AAAArecords.
This setting primarily enhances compatibility with applications that might not
properly handle ICMP unreachable errors. These errors are typically sent by
the Gateway to indicate that the requested IP stack (e.g., IPv6) does not have
corresponding A or AAAA records for a connection attempt.
Since some applications don't gracefully handle these errors, configuring the IP
stack to IPv4 only or IPv6 only can mitigate such issues by ensuring only
available records are returned.
If you're unsure, it's generally recommended to leave this setting at Dual-stack.
Traffic restrictions

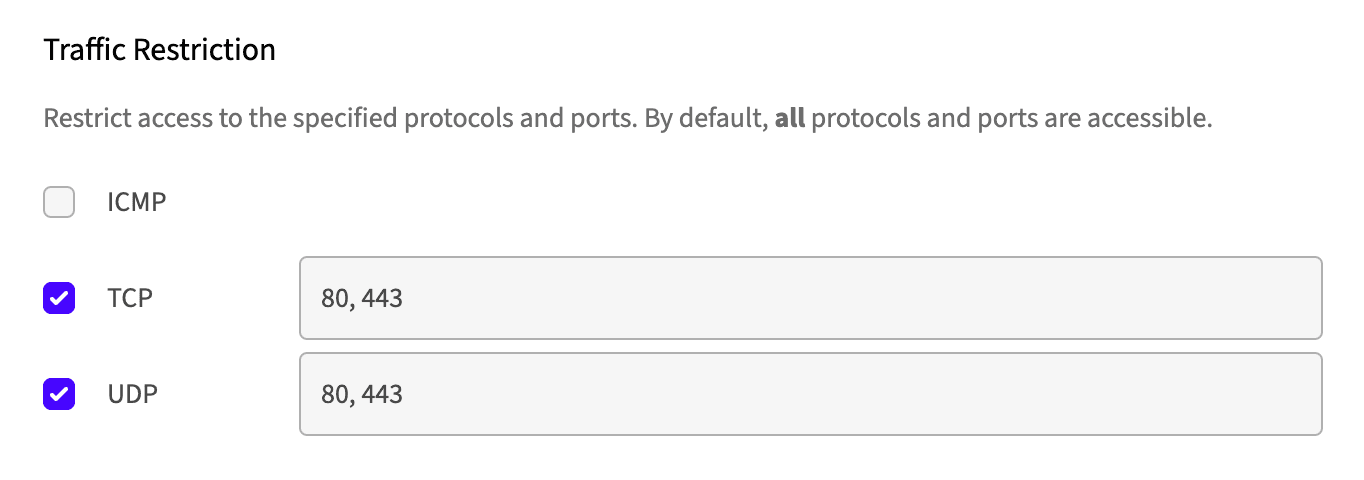
You can specify optional port range(s) and protocols on the Resource for finer
access control, useful for restricting certain services while allowing others.
Supported protocols currently include ICMP, TCP, and UDP.
One popular use case for traffic restrictions is segmenting access to individual services on a host. To do this, simply create a Resource for each service on the host you want to allow access to, and add the appropriate traffic restrictions to each one.
For example, create an Resource with the TCP/22 restriction to allow SSH
access for your DevOps team, then add another Resource with the TCP/443
restriction to allow access to an HTTPS service for the rest of your
organization.
The Internet Resource
The Internet Resource is a special Resource available on paid plans that allows
you to route 0.0.0.0/0 and ::/0 through Firezone in a full-tunnel
configuration. It functions as a fallback for traffic that doesn't match any
other Resource.
Unlike regular Resources, the Internet Resource can be disabled by end-users to prevent their internet access from being affected by Firezone if any issues arise. The Internet Resource is disabled by default in Client apps when it is first assigned a policy.
The Internet Resource is automatically enabled on Team and Enterprise plans. To
use it, head to the main Sites section in the admin portal, and look for the
Manage Internet Resource in the section at the bottom of the page.
This will take you to the Internet Site, a special system-managed Site dedicated to hosting the Internet Resource. Here you can deploy Gateways and manage Policies like any other Site.
Tip: Deploy geographically-dispersed Gateways to the Internet Site to provide lower latency for a remote workforce. Firezone automatically selects the closest Gateway to route traffic through.
Need additional help?
See all support options or try asking on one of our community-powered support channels:
- Discussion forums: Ask questions, report bugs, and suggest features.
- Discord server: Join discussions, meet other users, and chat with the Firezone team
- Email us: We read every message.